

Content Batching: A Step-by-Step Guide for Beginners
Do you feel like you’re always behind on creating content? You sit down to write a post or schedule social media, and suddenly it’s three hours later—and you’re still not done. If that sounds familiar, it’s time to try something that actually works: content batching.
Content batching is a simple way to create more content in less time.
Instead of switching tasks all day, you group similar content tasks together—like writing blog posts, making graphics, or scheduling everything at once.
This is called batch content creation, and it’s a game-changer for busy bloggers and small business owners.
In this post, you’ll learn exactly how batching content works and how to set up a system that fits your style—even if you’re just getting started.
TL;DR
Content batching helps you save time and stay organized by grouping similar tasks together. This guide walks you step-by-step through batch content creation so you can start batching content with confidence.
What Content Works Best for Batching
Before you start, it’s important to know what types of content work best for batching. Some great options include blog posts, social media captions, emails, and even graphics.
For example, you might write all your blog post outlines one day, and then draft them the next day.
Here are a few ideas of tasks you can batch:
- Blog post outlines and drafts
- Instagram captions
- Email newsletters
- Pinterest pin designs
- Podcast episode scripts
- Video editing or thumbnail creation
- Content scheduling in your planner or online planning tool
But not everything should be batched.
Don’t try to batch tasks that need quick reactions, like replying to comments or handling customer questions. Those are better done in real time.
The biggest pros to batching include saving you time and keeping you focused.
When you do one type of task at a time, you get into a rhythm and finish faster—without the stress of jumping between tools or ideas.
Plan Your Content in Advance
Before you start creating, take time to plan what you want to post and when. This makes content batching easier and more organized.
Planning is deciding what to post and when. Batching is how you create and prepare it efficiently.
Start by choosing a theme or topic for the week or month.
For example, if you’re a food blogger, one week might focus on easy dinners, and the next on healthy snacks.
Next, use a content calendar or planner to map out your ideas. You don’t need anything fancy—a notebook, spreadsheet, or a free online tool like Google Calendar works great. Write down what you’ll post, when, and where.
How far ahead should you plan? A good goal is to plan 2 to 4 weeks of content at a time.
This gives you enough time to batch content without feeling rushed.
Planning ahead helps you stay on track, avoid last-minute stress, and keep your blog or social posts focused and consistent.
If you’re not sure what to post each month, my free Content Clarity Workbook can help you plan and batch content in one sitting.
Break Down Your Workflow to Simplify Batching Content
To make content batching easier, break your work into smaller steps. This helps you focus on one thing at a time and avoid feeling overwhelmed.
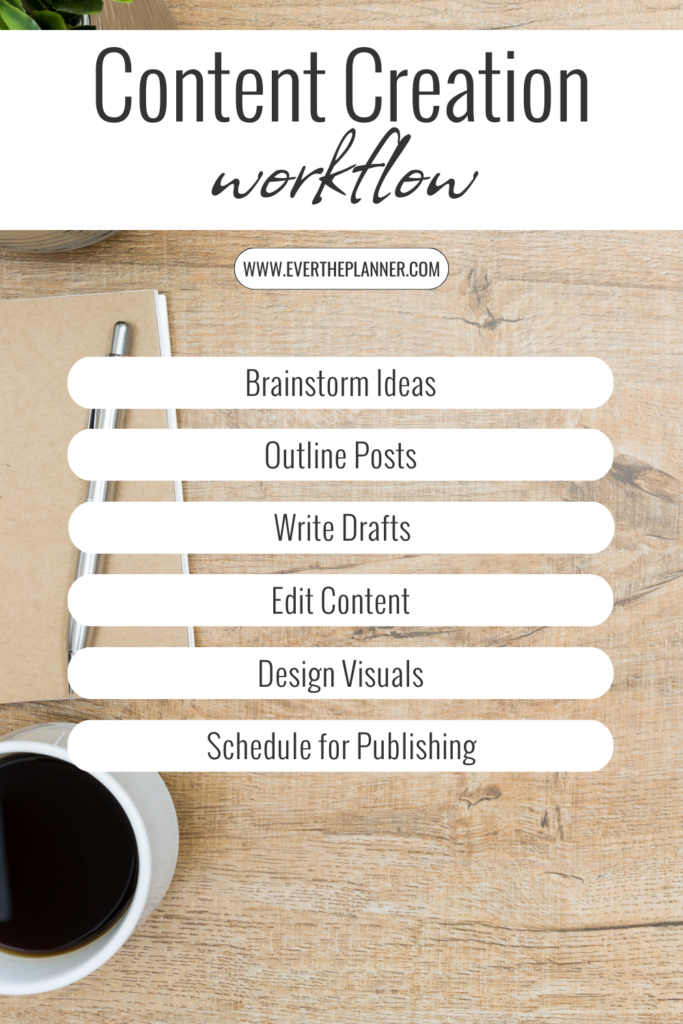
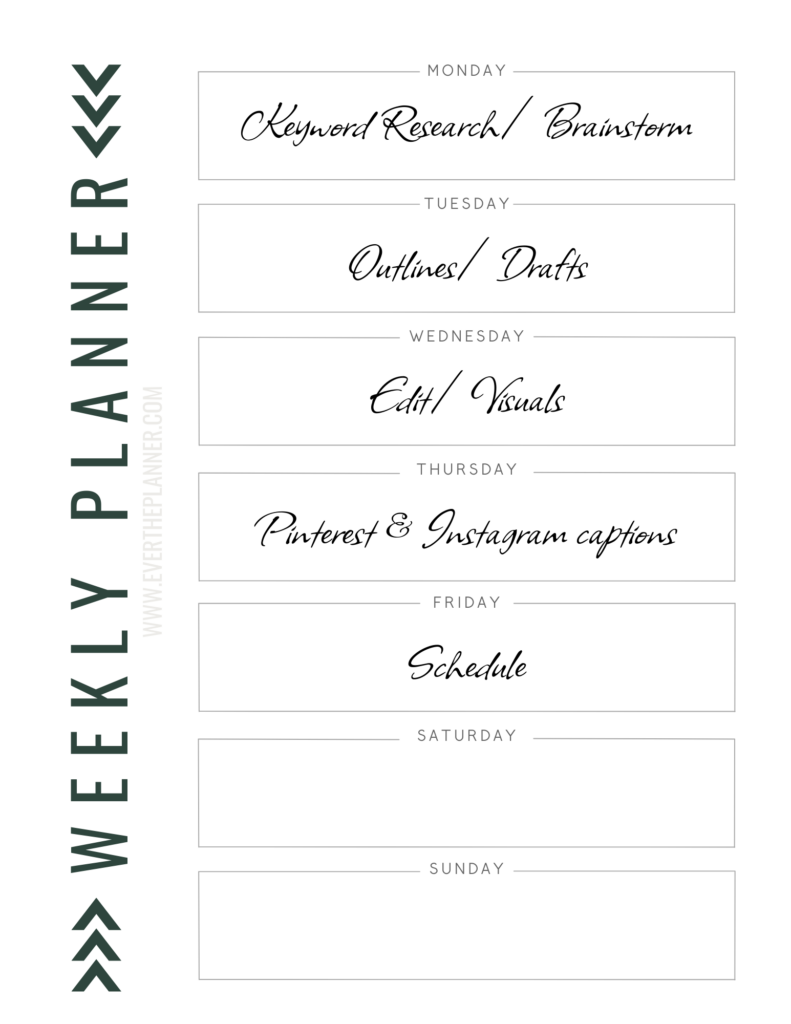
For example, if you’re working on blog posts, your steps might look like this:
Brainstorm Ideas → Outline Posts → Write Drafts → Edit Content → Design Visuals → Schedule for Publishing
Instead of doing all of that in one sitting, try batching each step.
Write outlines for three posts in one session. Then, in your next session, draft all three. Later, edit and schedule them.
You can do the same for other content too. Group your tasks by type:
| Task Type | Batch Ideas |
|---|---|
| Writing | Blog posts, emails, captions |
| Design | Pins, IG graphics, thumbnails |
| Video | Scripts, batch filming, edits |
| Scheduling | Tailwind, Buffer, blog post scheduling |
This kind of system saves time and keeps your brain from switching gears too often.
When you batch content by task type, you work faster—and with way less stress.
Use Time Blocks for Effective Content Batching
Now that you know what to batch, it’s time to set aside time to do it.
The easiest way is to block off time on your calendar just for batching. You can pick a full day (like “Content Mondays”) or a few short blocks during the week.
For example, you might batch blog post writing on Tuesday mornings and graphics on Fridays.
During batching time, turn off distractions. Put your phone on silent and close any tabs you don’t need.
Using a timer can also help—try the Pomodoro method (25 minutes of work, 5-minute breaks) to encourage you to stay focused during “batch time.” (Here’s a handy Pomodor timer!)
Here are some tools to stay organized and on track:
- Trello – to move tasks through stages like “To Do” and “Done”
- Google Calendar – to block batching time
- Pomofocus.io – for Pomodoro-style focus sessions
By setting time blocks and using the right tools, batching can become part of your routine—not something you squeeze in at the last minute.
I also realize that we’re not all working with the same schedule here, so I’ve put some quick thoughts together below, based on how much time you may have and how it could be spent so that it continues to move the needle for you.
Batching in Real Life:
1 hour a day? Outline one post, design 2 pins, or schedule social captions
2–3 hours a week? Try batching by content type (e.g. write all your captions on Wednesday, create all your pins Thursday, etc.)
Full-day batching? Go from brainstorm to draft to schedule in one focused block
You can batch your way—just find what works for your energy and life.
Tools and Templates That Make Batch Content Creation Easier
Templates make content batching way easier.
A template is like a fill-in-the-blank guide that helps you create faster.
For example, you can use blog post templates, social media caption templates, or email layout templates. Instead of starting from scratch every time, you follow the same format—and save a ton of time.
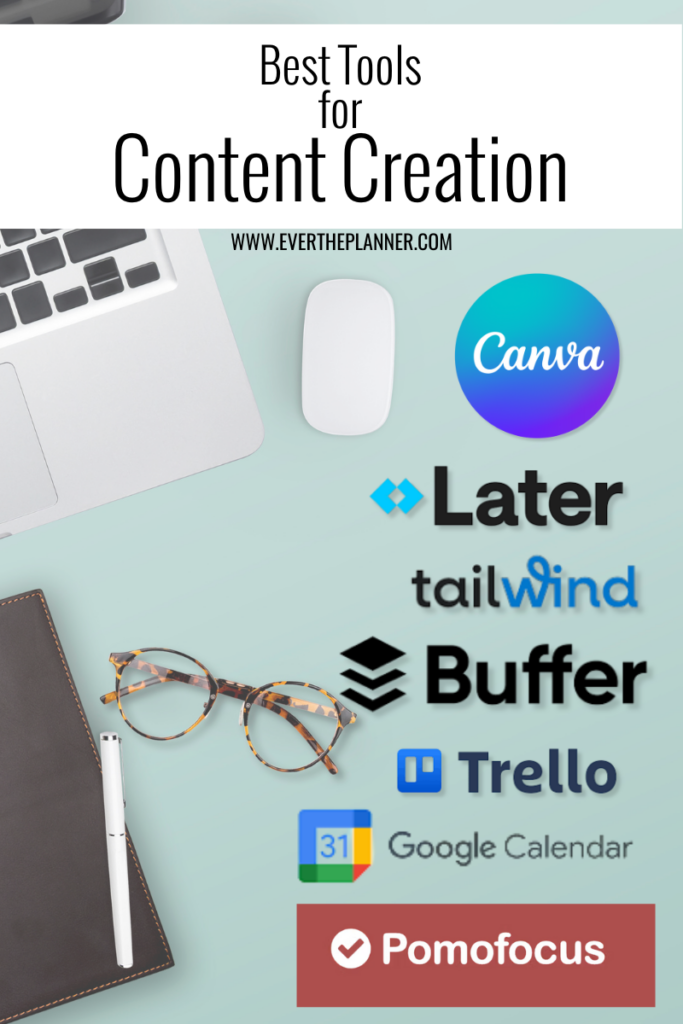
There are also great tools to help you with content creation and scheduling. Some favorites include:
- Canva – for designing graphics and posts
- Trello – for organizing ideas and tracking progress
- Later, Buffer, or Tailwind – for scheduling posts ahead of time
Automation also plays a big role in content batching. Once your content is ready, these tools can publish it for you while you focus on other things.
That means less manual work and more time for creativity.
With the right templates and tools, batching becomes faster, easier, and more enjoyable.
💡Pro Tip: Once you’ve written your blog posts, don’t forget the final step—a clean, well-edited post builds trust and keeps readers coming back. If you’d like a second set of eyes, I offer professional proofreading services tailored for bloggers. I’ll help you catch the little things, improve flow and clarity, and make sure your words shine—so you can hit publish with confidence. Learn more here.
Review and Adjust Your Batching System
Once you’ve been batching for a little while, take time to check if it’s working for you.
Ask yourself: Am I getting more done? Do I feel less stressed? Is my content going out on time?
You don’t need a fancy system—just track a few simple things:
- How many blog posts or social posts did you finish?
- How much time did you save compared to before?
- Did batching make the process feel easier or harder?
If something isn’t working, it’s okay to make changes.
Maybe you need shorter batching sessions, fewer posts, or a better tool to stay organized.
As your blog or business grows, your content needs will change—so your batching process should grow with you.
Review your system every month or so, and adjust as needed.
Some bloggers love full-day batching marathons, while others prefer smaller focus blocks a few times a week. Try both and see what fits your energy best.
The goal is to make your workflow smoother, not more difficult.
Keep what works, fix what doesn’t, and keep going.
Final Thoughts: Your Future Self Will Thank You
Content batching is one of the easiest ways to save time and stay organized.
Let’s quickly go over the steps:
- What content works best for batching
- Plan your content in advance
- Break down your workflow to simplify batching content
- Use time blocks for effective content batching
- Tools and templates that make batch content creation easier
- Review and adjust your batching system
You don’t have to change everything all at once. Start small—try batching just one task, like writing social media captions or outlining blog posts.
Once you see how much time it saves, you’ll want to do even more.
With a little planning and practice, batching will become a regular part of your routine—and your content will be ready before you even need it.
Content batching might feel new now, but once it becomes part of your rhythm, you’ll wonder how you ever blogged without it.
Start small. Keep it simple. You’ve got this.
If you need help building a system that works for you, my Content Clarity Workbook is a great place to start.

Be the first to comment